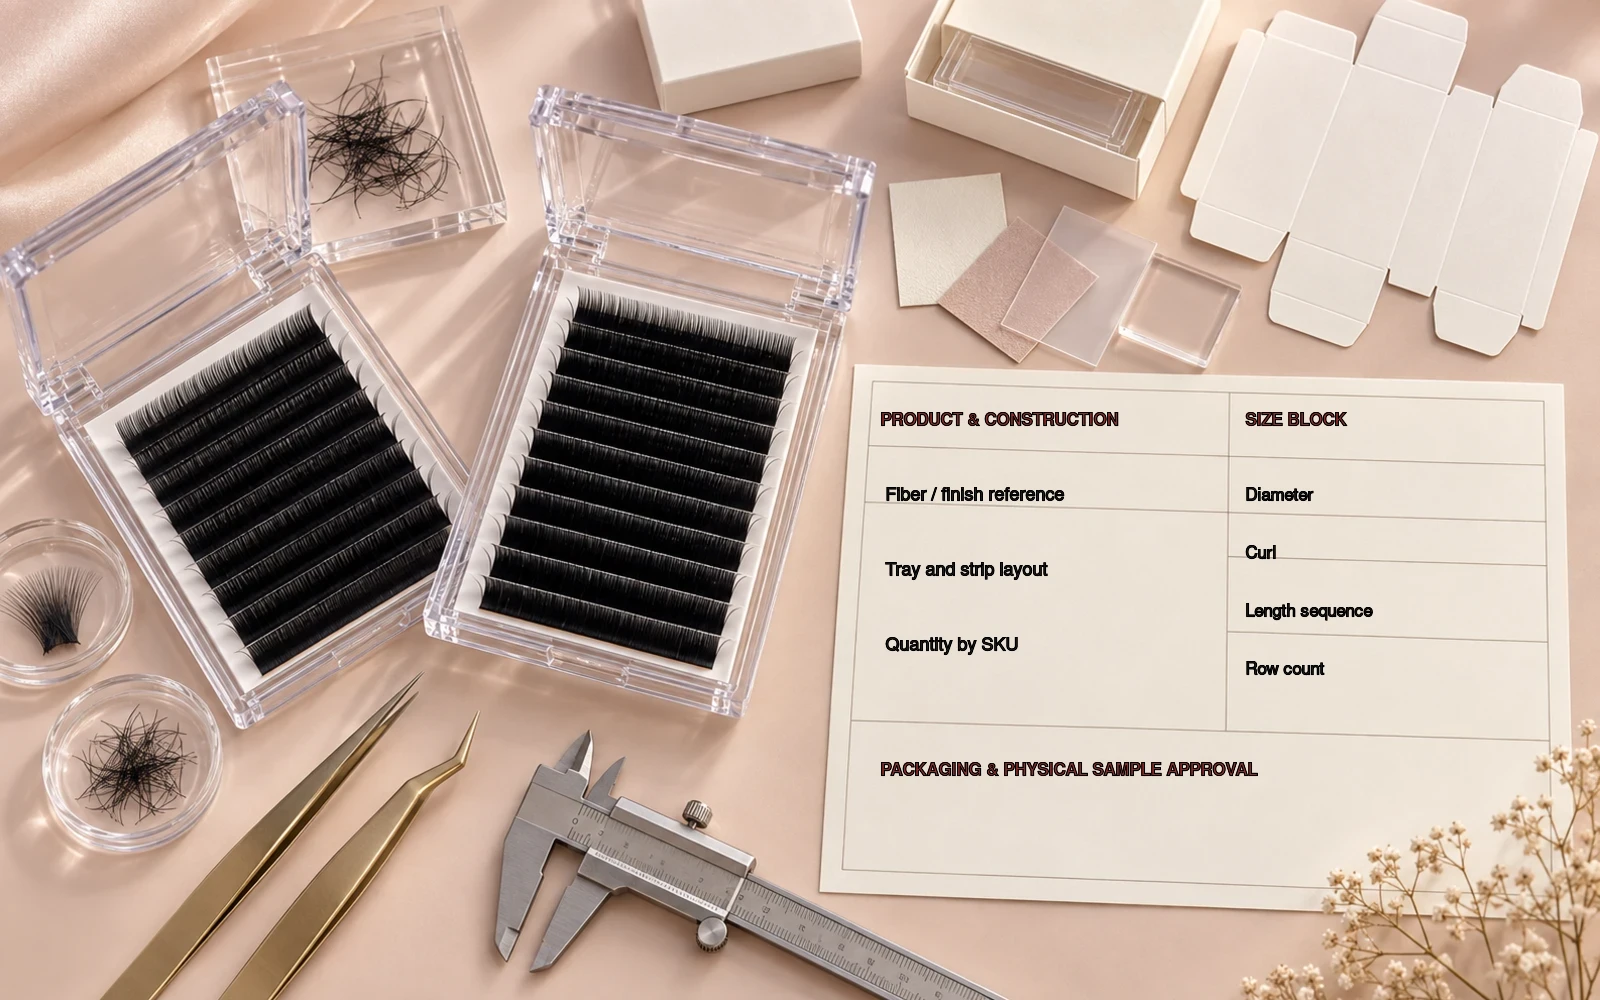
“0.07 C curl, 9–13 mm” is a useful starting line, but it is not a production-ready eyelash extension specification. A factory still needs to know the product construction, fiber and finish, length allocation, row count, strip and tray details, packaging, quantity and approval route. Use the lash thickness and length guide if the size block has not yet been defined.
A complete spec sheet reduces back-and-forth, makes supplier quotations easier to compare and creates a record for sample and bulk inspection. It also exposes decisions that have not yet been made, which is better than discovering them after packaging artwork or production has started.
The essential lash specification fields
| Field | What to write | Why it matters |
|---|---|---|
| Product construction | Classic, volume, easy fan, premade fan, YY, flat or another confirmed format | Changes the product structure and available specification route |
| Fiber and finish | Approved sample reference, color, sheen, softness and taper requirement | Marketing names alone do not define the material |
| Diameter | Nominal fiber diameter in millimetres | Must suit the selected construction |
| Curl | Curl name plus approved supplier sample | Curl naming varies between suppliers |
| Length | Single length or exact mixed sequence | Determines range and tray allocation |
| Tray layout | Row count, strips, length allocation and inner card | Defines the sellable unit and professional workflow |
| Quantity | Required units by SKU | Needed for MOQ, price and production planning |
| Packaging | Logo, labels, box, finish, insert and required market information | Connects the product to the private-label system |
| Approval | Digital artwork and physical product/packaging sample requirements | Creates the point of reference for bulk production |
Step 1: identify the construction before the size
Begin with what is being manufactured. “Lash tray” is too broad. A 0.07 mm classic tray, an easy-fan tray and a premade-fan product use different construction language even if the same diameter appears in the catalogue.
If you are not sure which route matches the market, state the intended customer, application method and desired finished effect. The factory can show the available starting products in the eyelash extension collection, but the final selection should be confirmed by a professional user and a physical sample.
Step 2: define curl, diameter and length as one block
Write these fields together. For a mixed tray, do not write only “9–13 mm.” State the required number of rows and the length assigned to each row. If you want both C and D curls, list them as separate SKUs unless the product is intentionally a mixed-curl tray with a defined allocation. Review the C curl vs D curl comparison before deciding whether both profiles belong in the range.
A clear size block might read:
Volume lash tray · 0.07 mm · C curl · 16 rows · mixed 9–13 mm · final row allocation to be approved with sample.
This is still incomplete, but every size variable now has an owner and an approval point.
Step 3: replace material marketing terms with sample criteria
Terms such as silk, cashmere and faux mink can describe product positioning rather than a standardized fiber chemistry. Add observable criteria: blackness, sheen, softness, elasticity, taper, strip release and curl consistency. Ask the supplier to code the approved sample so later discussions refer to the same physical product. For curl terminology and approval points, refer to the complete lash curl guide.
Step 4: write the tray and strip specification
- Number of rows in the sellable tray.
- Single-length or mixed-length arrangement.
- Strip backing and pickup behavior to be tested.
- Length marking format on each strip.
- Inner card color, dimensions and printed information.
- Tray shell or box structure selected from available options.
The inner card and strip labels are operational details, not decoration. They affect how quickly a lash artist identifies the product and how accurately a warehouse picks it.
Step 5: separate product approval from packaging approval
The lash sample and the packaging artwork solve different risks. Approve the fiber, construction and tray behavior before treating a digital box rendering as final product approval. Then approve the dieline, label text, print color, finish and physical packaging sample. The Private Label page shows how these approval stages connect.
For market-specific label information, the buyer is responsible for confirming the legal and commercial requirements in the destination market. Provide final approved copy rather than asking the printer to interpret it.
Step 6: state quantity and commercial requirements
Provide expected units per SKU, launch timing and destination. MOQ and production timing depend on the product, number of variations, packaging structure and quantity. They should be confirmed after the full brief rather than copied from a generic website statement.
If the project uses an L-family or another non-standard profile, add a side-view reference and follow the checks in the special curl guide. You can also attach the printable lash curl and size chart to the first enquiry.
Copyable lash specification template
Brand / project:
Target market:
Target customer:
Product construction:
Fiber / finish reference:
Diameter:
Curl:
Length or mixed sequence:
Row count and allocation:
Strip / inner card requirement:
Outer packaging requirement:
Required units per SKU:
Requested sample type:
Target delivery window:
Destination country:
Special inspection or document requirement:
Common reasons a brief is returned
- The product says “volume” but does not define standard volume, easy fan or premade fan.
- The curl is named without an approved supplier reference.
- The length range is listed without a row allocation.
- The total quantity is given but not split by SKU.
- The logo is supplied but label copy and packaging structure are missing.
- The launch date is stated without time for physical sample approval.
Use the Private Label service page to review the full project route. When the template is ready, send the brief to Miya Chen.